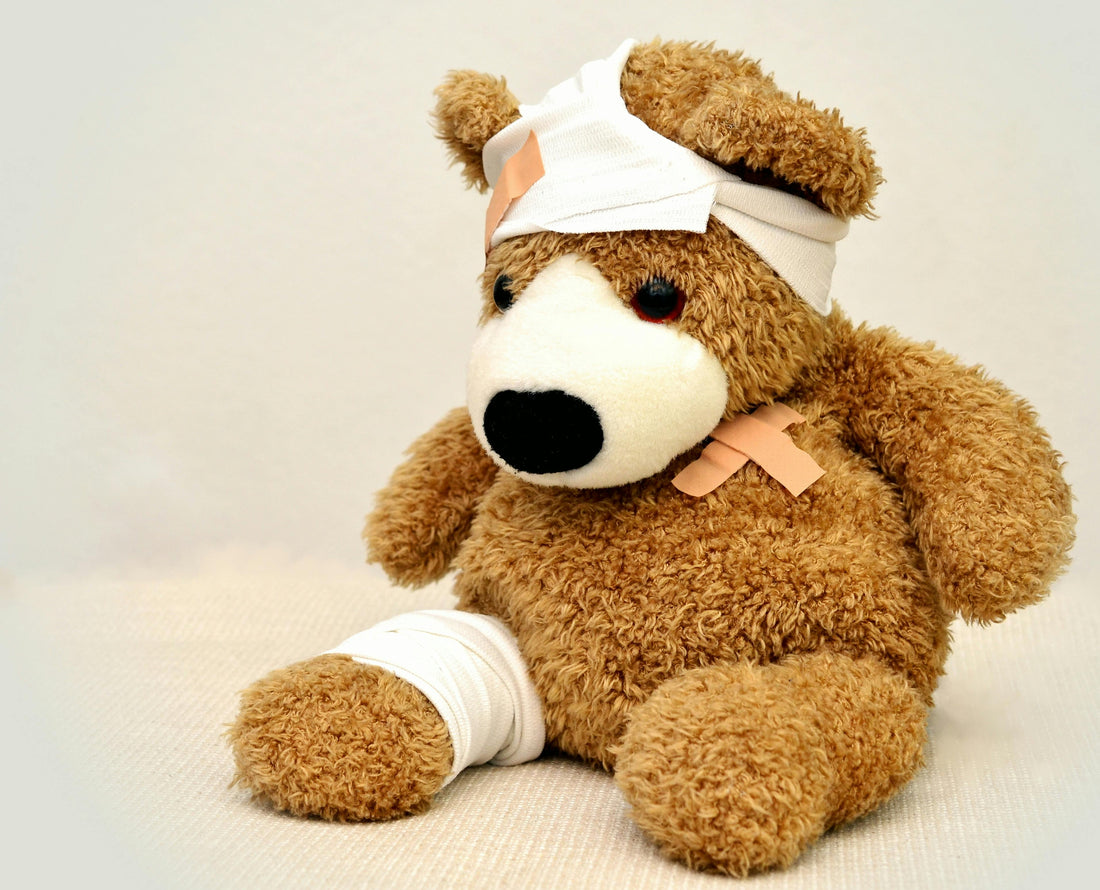
Toy Hospital - DIY repair guide
Share
How to Repair Rips and Tears to Extend the Life of Your Dog's Favourite Toys
Lets face it, nothing is indestructible when faced with the gnashers of our dogs. Even the most durable toys can be ripped to shreds in minutes.
Here’s a simple step-by-step guide to help you repair the damage and get more playtime out of their toys.
What You’ll Need:
- Needle and strong thread
- Scissors
- Patch material (e.g., non toxic fabric)
- Sewing pins (optional)
Step 1: Assess the Damage
Carefully examine the toy and determine the extent of the damage. Small tears can often be repaired easily with just a needle and thread, while larger rips may require a patch for added strength. Ensure that the toy is clean and dry before proceeding with repairs.
Step 2: Prepare the Tear
If the tear is jagged or frayed, gently trim any excess fabric around the edges of the rip. This will make the repair process easier and ensure the patch or stitching adheres properly.
Step 3: Stitching Small Rips
For smaller rips that don’t require a patch:
- Thread the needle: Cut a piece of strong thread, around 45cm long, and thread it through the needle. Tie a small knot at the end.
- Sew the tear: Starting at one end of the tear, push the needle through the fabric from the inside, pulling it to the other side. Use small, tight stitches to make the repair as strong as possible. Sew all the way across the tear, making sure both edges are securely joined.
- Tie off the thread: Once you reach the other end, tie off the thread securely on the inside of the toy to prevent it from unraveling.
Step 4: Adding a Patch for Larger Tears
For larger rips or areas of wear, adding a fabric patch is a great way to reinforce the toy and prolong its life.
- Choose a patch material: Select a fabric that matches the toy’s material (e.g., no toxic fleece, canvas, or felt). Cut a piece of fabric large enough to cover the tear, leaving at least 2cm of overlap around the edges.
- Attach the patch: Use sewing pins to hold the patch in place on the toy, ensuring it fully covers the rip.
-
Sew the patch in place: For extra durability, sew around the edges of the patch with a needle and thread, using tight, secure stitches to ensure the patch stays put.
Step 5: Testing the Repair
Once the repair is complete, gently test the toy to make sure the patch is secure and the tear is properly closed. If it seems sturdy, your dog’s toy is ready to go!
Tips for Longer-Lasting Dog Toys:
Inspect regularly: Check your dog’s toys for signs of wear and tear, and repair any damage immediately to prevent further deterioration.
With a little time and effort, you can keep your dog’s toys in top shape and save money by reducing the need for replacements which is beneficial for your purse and the planet!
Happy repairing, and here's to many more hours of playtime with your dog!
